
Alright, so I’m gonna walk you through this little side project I tackled recently: making a “cookies hat.” Yeah, you heard that right. A hat…made of cookies. Sounds crazy, right? Well, it kinda was.
It all started with my niece’s birthday. She’s turning seven, and she’s obsessed with baking. Like, seriously obsessed. I was racking my brain for a gift idea that wasn’t just another baking set (she has, like, five already). Then it hit me: a wearable cookie! A cookies hat!
Step 1: Planning & The Dough
First, I sketched out a super rough design. Think basic beanie shape. I knew I needed a sturdy dough, something that wouldn’t collapse under its own weight. I ended up going with a shortbread recipe I found online. It seemed dense enough. I doubled the recipe, just to be safe.
Making the dough was pretty standard. Creamed the butter and sugar, added the egg and vanilla, then slowly mixed in the flour and salt. Once it came together, I wrapped it in plastic wrap and chilled it in the fridge for about an hour. Gotta let that gluten relax, you know?
Step 2: Shaping & Baking the Pieces
Okay, this is where things got interesting. I rolled out the dough pretty thin – maybe 1/4 inch? – and then used a template I cut out of cardboard (basically a semi-circle) to cut out the individual “panels” of the hat. I made, like, eight of these. And then I baked each panel. This was time consuming, I tell ya.
Baking was tricky. I didn’t want them to brown too much, or they’d be too brittle. I ended up baking them at 325°F (about 160°C) for around 12-15 minutes, watching them like a hawk. I let them cool completely on wire racks. And boy oh boy the smell of baking cookies filled the house, it was delightful!

Step 3: Royal Icing Glue
Now for the “glue”: royal icing. I’ve never made this from scratch before! So I bought a premade powder mix. Added water according to the package instructions and whipped it up. The bag came with a pointy nozzle, very convenient.
Step 4: Assembling the Monster
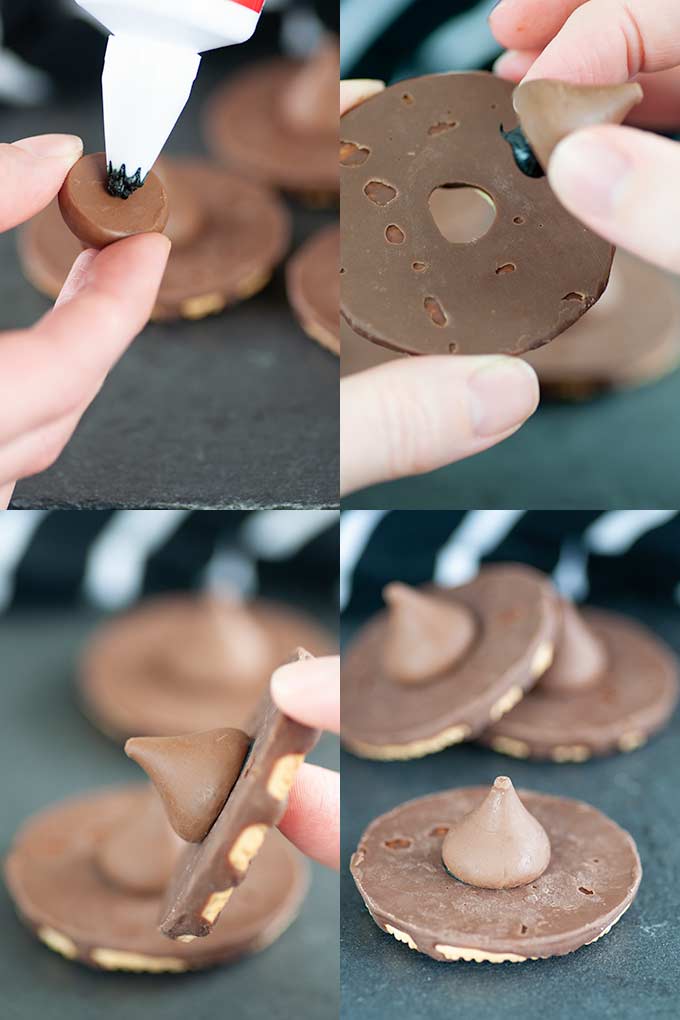
This was the make-or-break moment. Using the royal icing, I started gluing the panels together, edge to edge. I propped them up with cans and jars to keep them in place while the icing dried. This took FOREVER. I’m not kidding, I think it took a good six hours for the whole thing to dry completely.
Step 5: Decoration (Optional but Necessary)
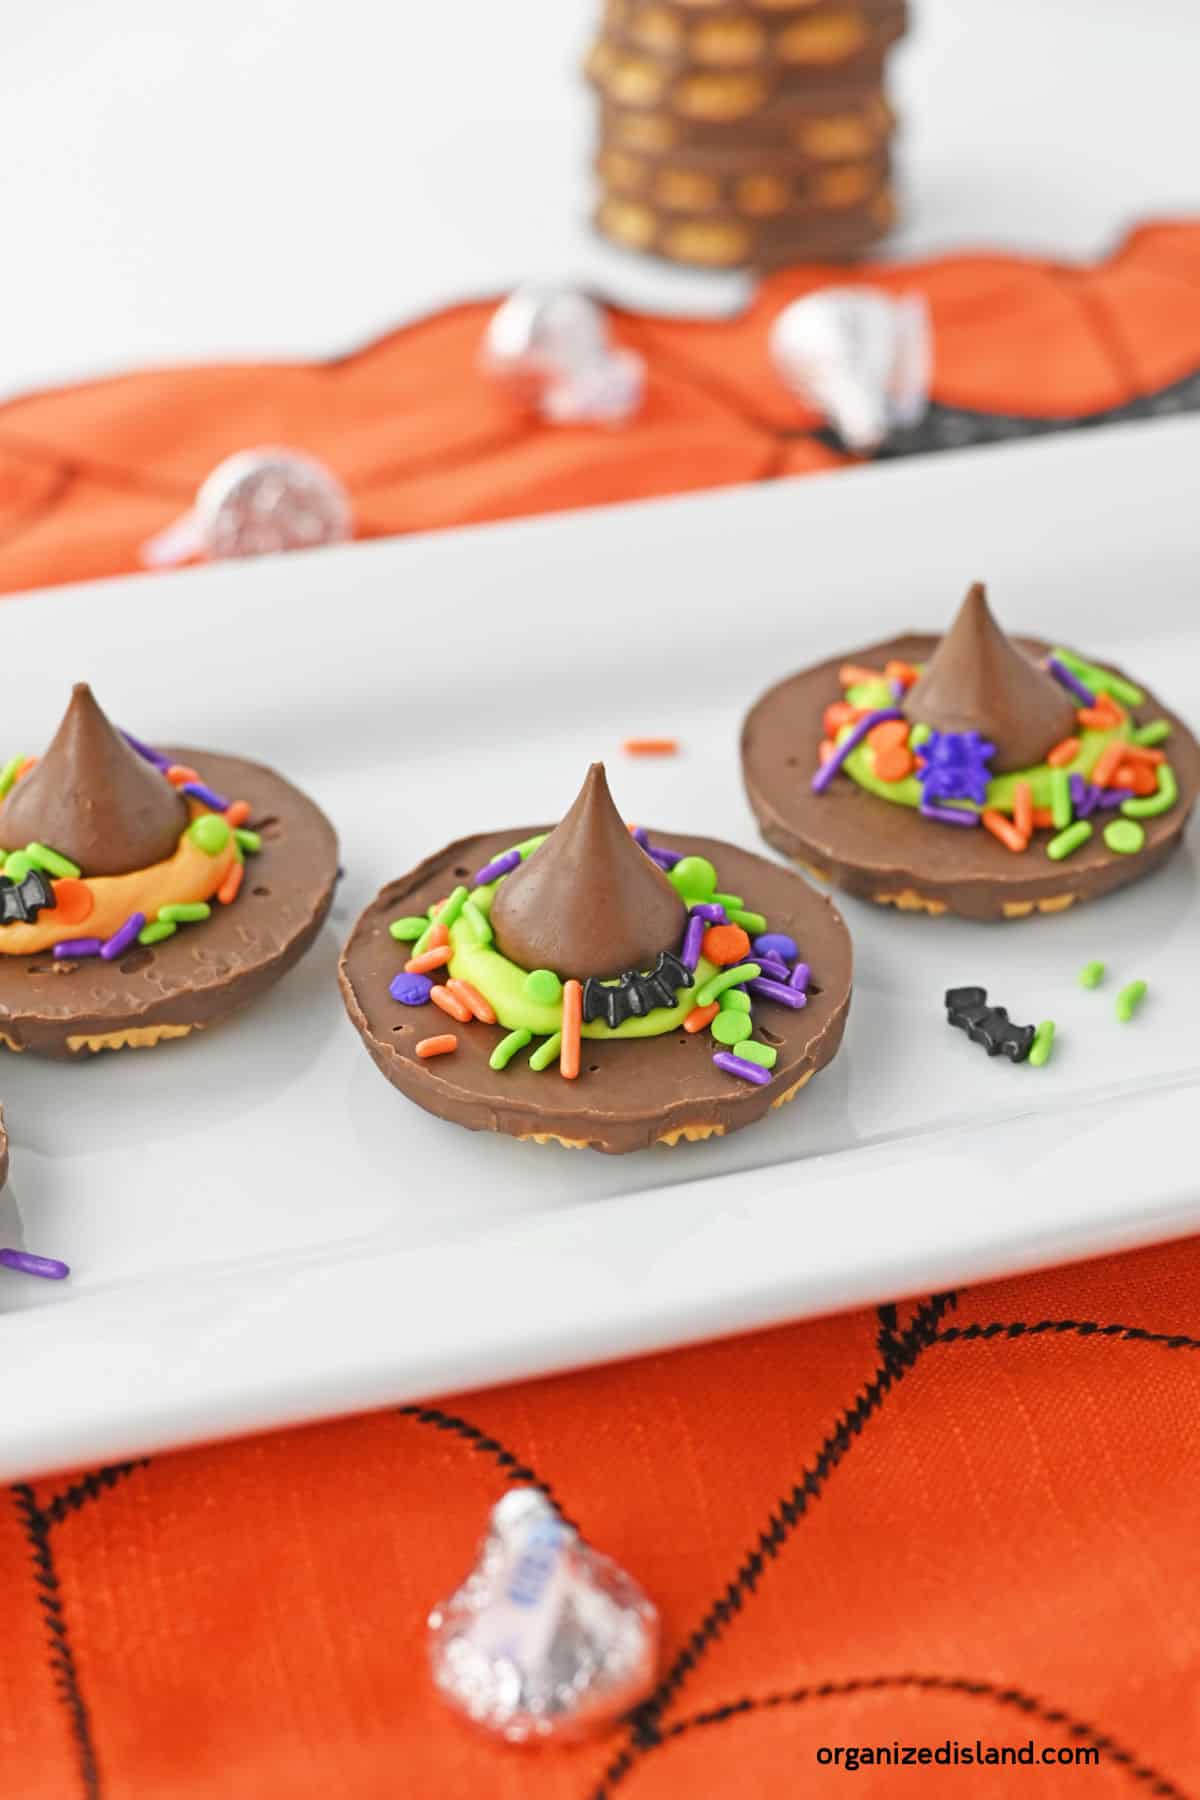
Once the hat was structurally sound (ish), it was time to decorate. I used more royal icing to add sprinkles and little candy decorations. My niece loves rainbow sprinkles, so I went a little overboard. It looked ridiculous, in the best way possible. I even added a little fondant cookie star on top.
The Grand Reveal
So, the big question: did it work? Well, kinda. It was definitely a hat-shaped object made of cookies. It was also incredibly fragile. My niece loved it. She wore it for about five minutes before it started to crumble. But hey, she got a kick out of it, and that’s what mattered. Plus, she got to eat a cookie hat! It was a fun experiment, even if it was a little bit of a disaster. Would I do it again? Maybe. But I’d definitely use a stronger dough next time!
- Lesson Learned: Shortbread is tasty, but not the sturdiest building material.
- Pro-Tip: If you try this, have lots of royal icing on hand. You’ll need it.

