
Okay, here’s my blog post about my experience with a 3-gallon glass beverage dispenser:
My DIY 3-Gallon Glass Beverage Dispenser Project
Alright folks, so I’ve been wanting one of those fancy glass beverage dispensers for ages. You know, the kind you see at parties and picnics? They just look so darn classy! But man, those things can be pricey! So, being the cheapskate, I mean, resourceful person I am, I decided to build my own. Here’s how it all went down.
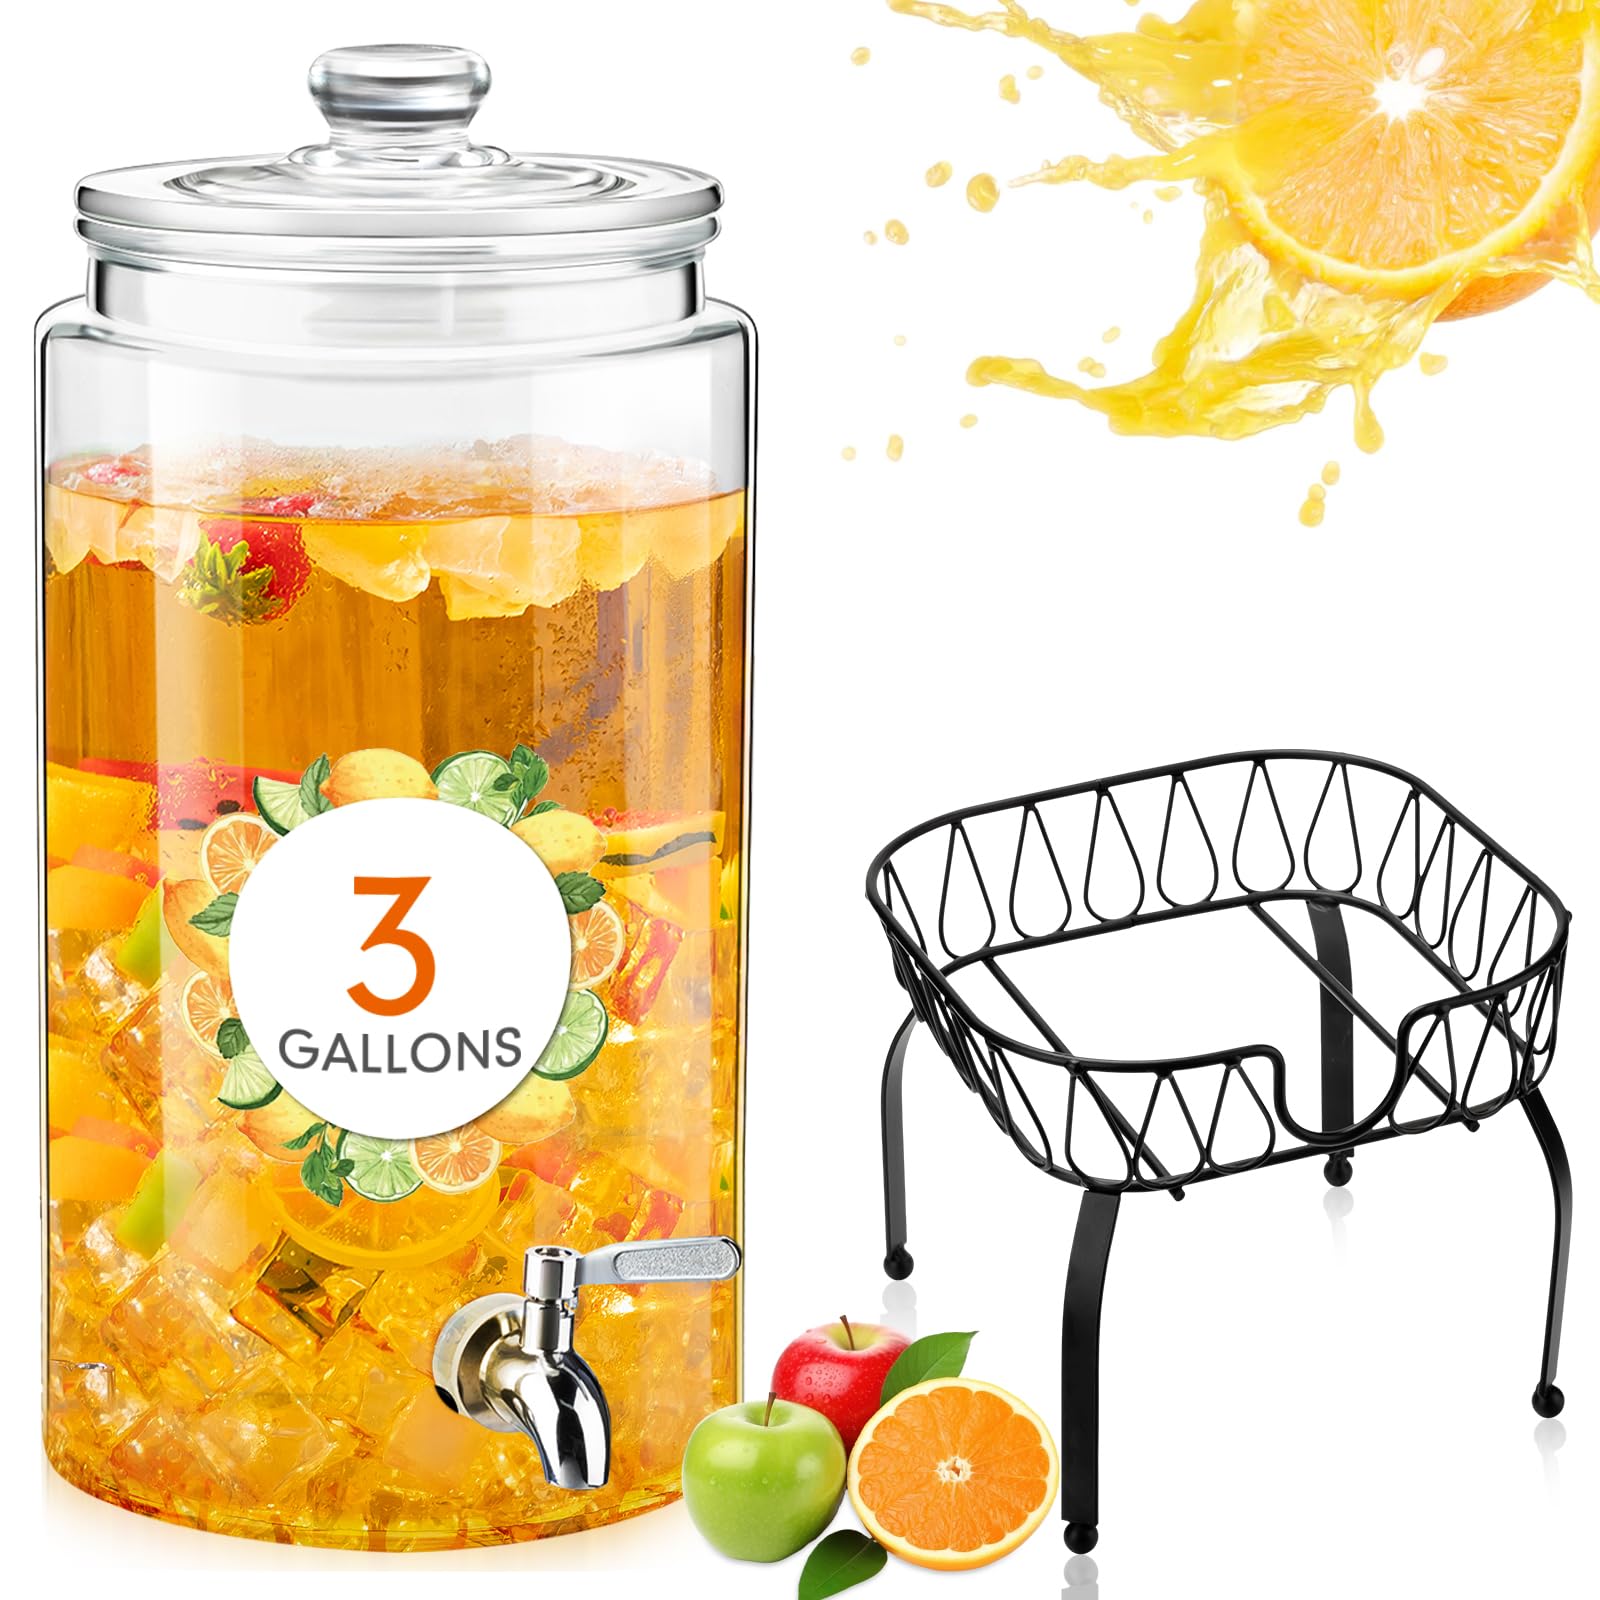
First things first, I needed a big ol’ glass jar. I scoured thrift stores and garage sales for weeks, and finally, BAM! Found a perfect 3-gallon glass jug at a flea market for like, five bucks. Score!
Next up, the dispenser part. I wasn’t about to drill a hole in the glass (too risky, I ain’t got the skills!), so I decided to go the no-drill route. This meant finding a spigot that could clamp onto the jar. I went to the local hardware store, wandered around for a bit, and ended up grabbing a stainless steel beverage spigot with a rubber gasket. Made sure it was food-grade, ya know, gotta be safe.
Now, the fun part – figuring out how to attach this thing. This is where things got a little… interesting. The spigot was designed to go through a hole, obviously, and my jar had… none. So, I needed to create a secure way to hold it against the glass. After some head-scratching and staring intensely at the spigot, I had an idea! I went back to the hardware store and grabbed a couple of large stainless steel hose clamps, the kind you use on car radiators. Figured they were strong enough to hold the spigot in place.
Here’s where things got a little fiddly. I carefully positioned the spigot on the lower part of the jar, making sure the rubber gasket was snug against the glass. Then, I used the two hose clamps to secure it in place. I tightened them down pretty good, but not TOO tight, didn’t want to crack the glass. It took a few tries to get it lined up right and to make sure the spigot was pointing straight.
After the spigot was clamped on tight, it was testing time! I filled the jar with water (starting with just a little bit, just in case of leaks!)… and crossed my fingers. To my surprise… no leaks! Hallelujah! I gradually filled it up to the top, and it held like a champ. I let it sit for a couple of hours just to be sure, and still no leaks. Boom! Success!
Now for the final touches. The hose clamps looked a little, well, industrial. So, I decided to hide them a bit. I grabbed some thick twine and wrapped it around the clamps, tying it off securely. Gave it a nice, rustic look. Plus, it made the clamps a little less noticeable.
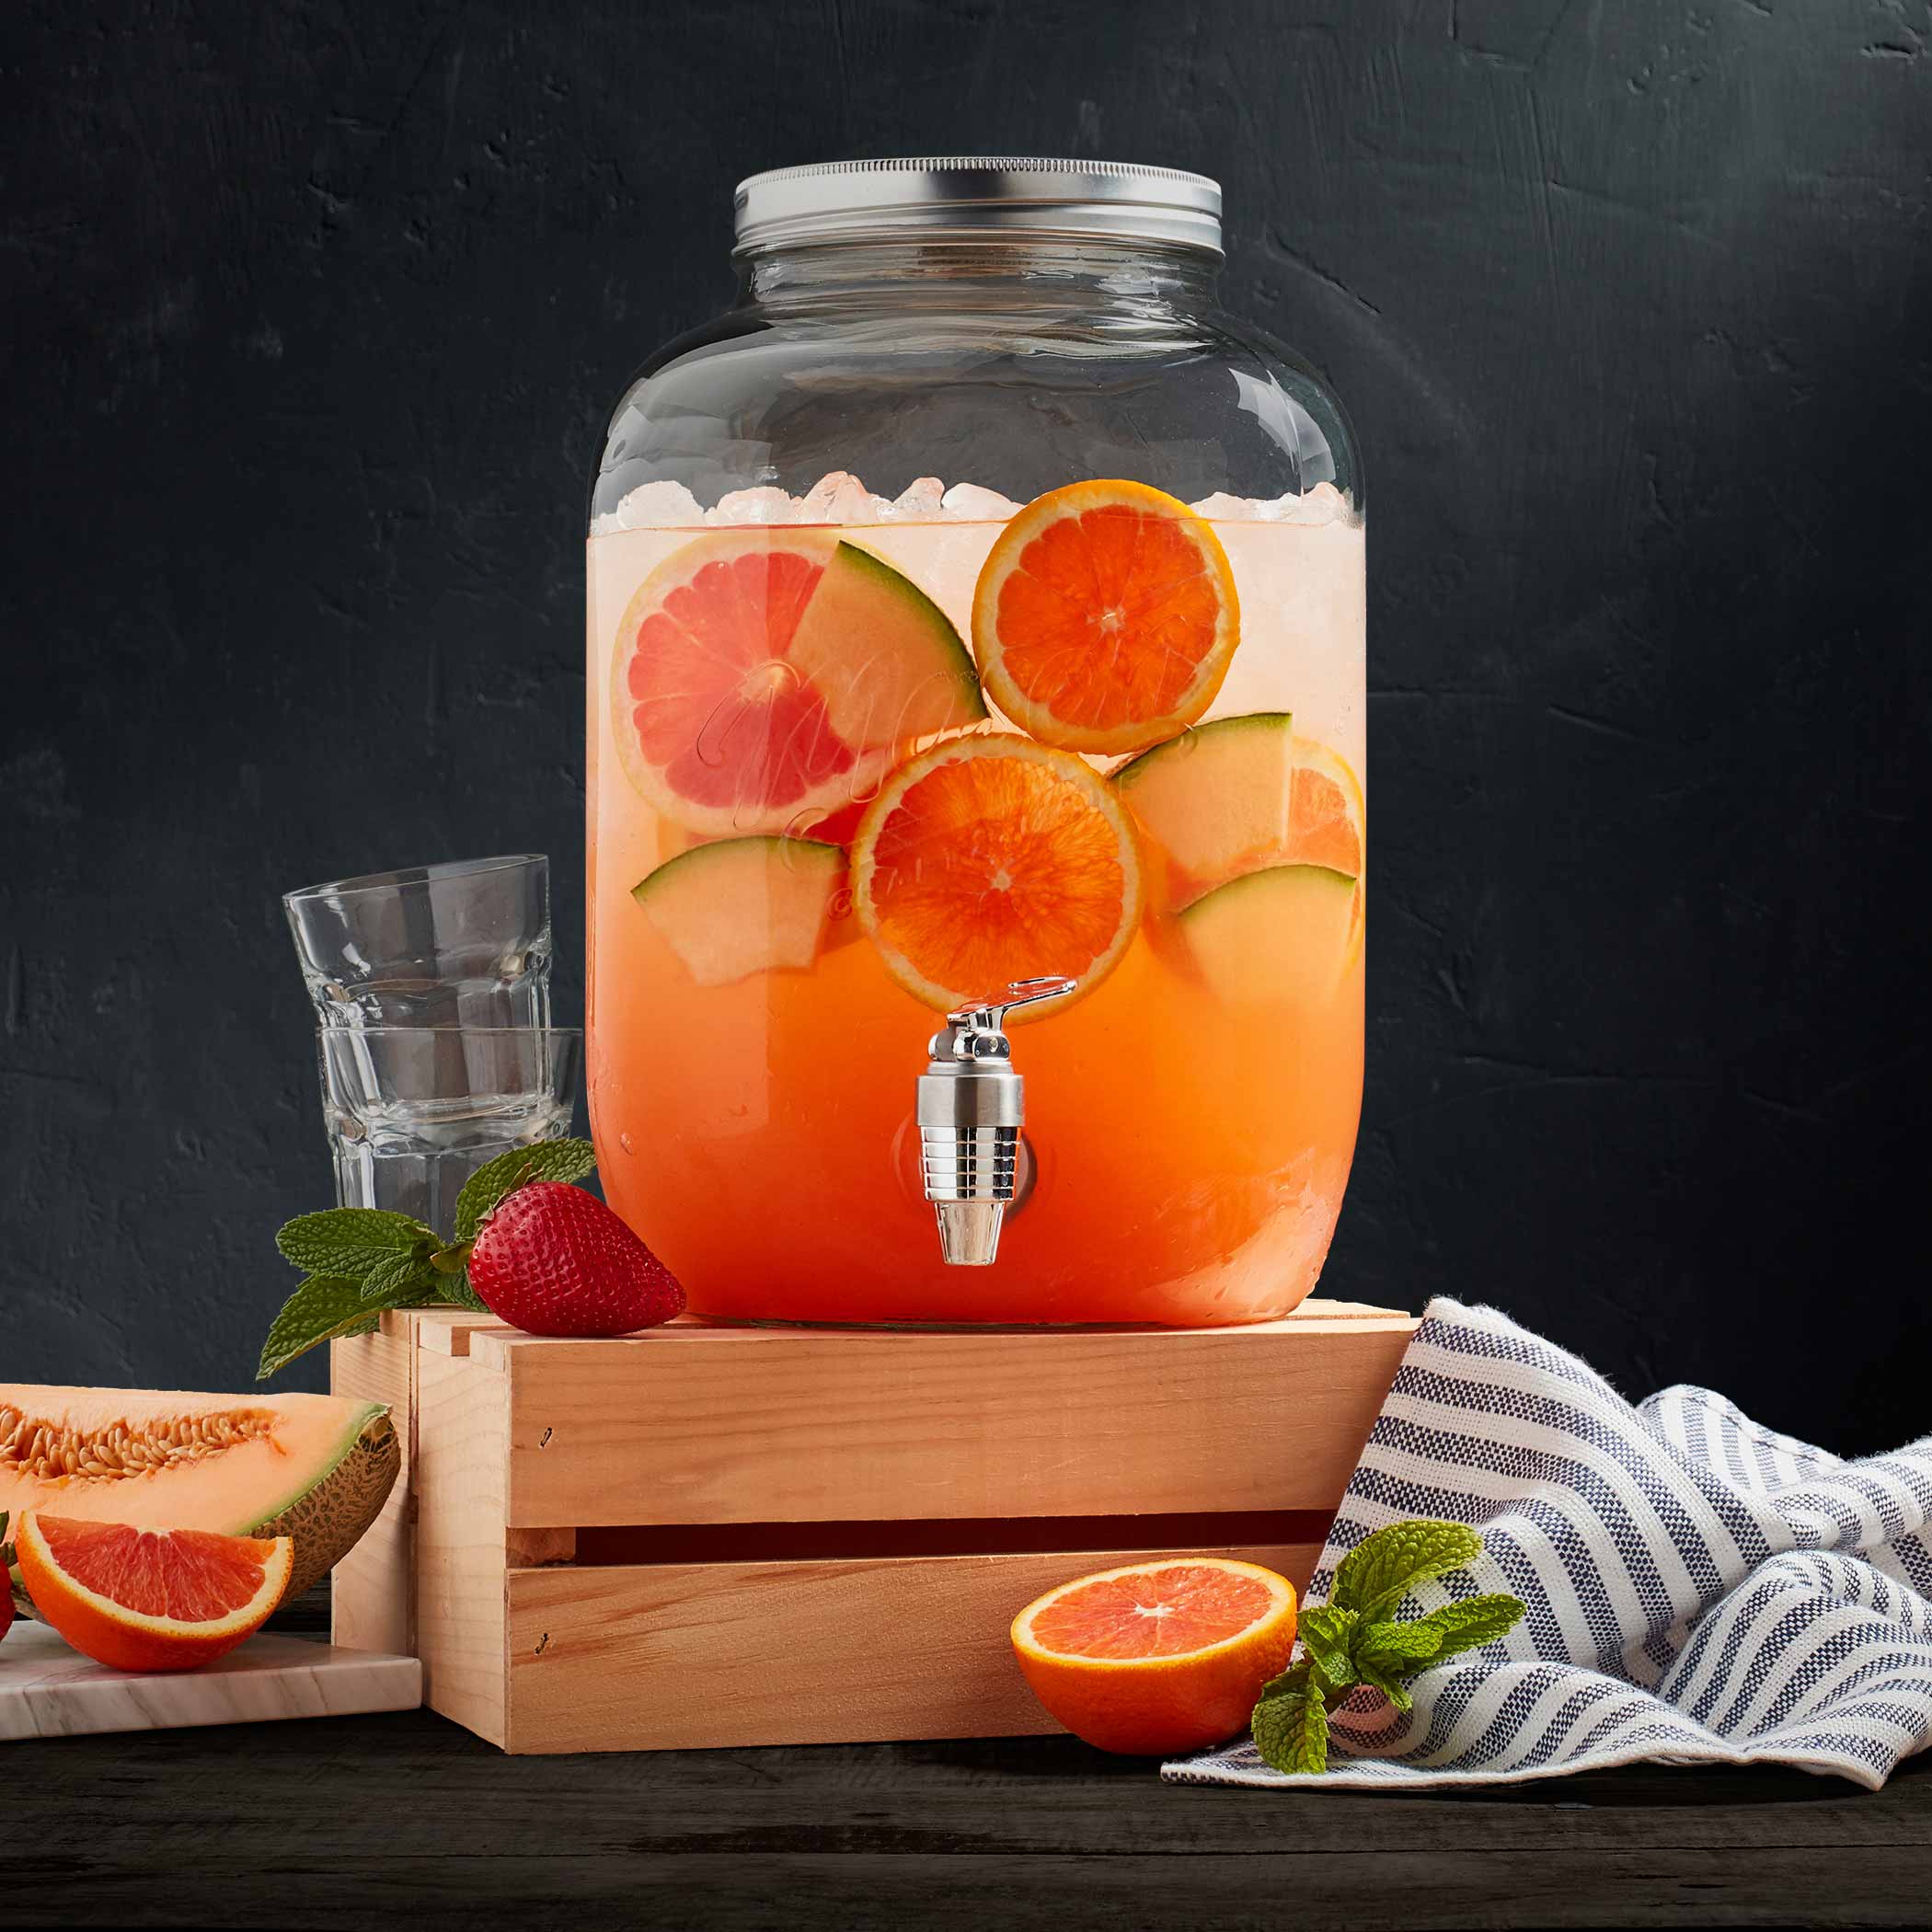
And that’s it! My DIY 3-gallon glass beverage dispenser was done. It wasn’t the prettiest thing in the world, but it was functional, cheap, and most importantly, it was mine! I’ve used it at a couple of parties already, and it’s been a hit. People are always asking me where I got it, and I love telling them I made it myself. The looks on their faces are priceless!
Lessons Learned:
- Stainless steel hose clamps are your friend!
- Don’t be afraid to get creative with your solutions.
- Test, test, test! Always test for leaks before filling it up completely.
- Twine hides a multitude of sins!
So, if you’re looking for a cheap and easy way to add some class to your next party, give this DIY project a try. It’s a fun little project, and you’ll have a cool beverage dispenser to show off at the end. Cheers!


