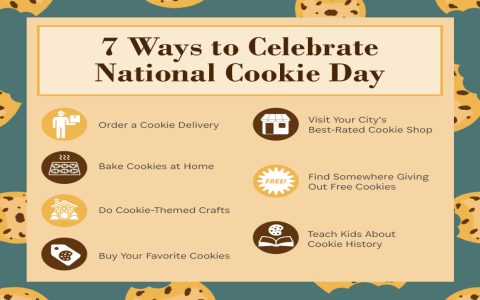
Alright, let’s talk about something sweet today – it’s National Sugar Cookie Day! I got super excited when I heard about it, so I decided to bake some sugar cookies myself. I mean, who doesn’t love a good sugar cookie, right?

First things first, I searched for the date and found out it is celebrated on July 9th. I marked it on my calendar because I definitely didn’t want to miss it. Then I started to look for a simple sugar cookie recipe online. There are tons of them, but I picked one that seemed easy enough for a baking newbie like me.
Next, I gathered all the ingredients. You know, the usual stuff like flour, sugar, butter, eggs, and some vanilla extract. I made sure I had everything ready on my kitchen counter – it just makes the whole process smoother.
Then came the fun part – mixing all the ingredients together. I started by creaming the butter and sugar until it was light and fluffy. After that, I added the eggs and vanilla. Gradually, I added the flour, mixing until a dough formed. It was a bit sticky, but I figured that was normal.
Once the dough was ready, I wrapped it in plastic wrap and popped it into the fridge. I learned that chilling the dough helps prevent the cookies from spreading too much when they’re baking. I left it there for about an hour – enough time to clean up the mess I made and preheat the oven to 350°F (175°C).
After an hour, I took the dough out and rolled it out on a lightly floured surface. I used some cookie cutters to make fun shapes. I didn’t have any fancy ones, just the basic circles and stars, but they worked just fine.
I placed the cut-out cookies on a baking sheet lined with parchment paper. I made sure to leave some space between them, so they wouldn’t stick together while baking. Then, into the oven they went. The recipe said to bake for about 8-10 minutes, or until the edges were lightly golden.
While the cookies were baking, I started thinking about how I wanted to decorate them. I decided to keep it simple with some frosting and sprinkles. I whipped up a quick buttercream frosting and divided it into a few bowls. I added a few drops of food coloring to each one to make them colorful and fun.

Once the cookies were done, I let them cool on the baking sheet for a few minutes before transferring them to a wire rack to cool completely. I had to resist the urge to eat them right away, but I knew they would taste even better once they were decorated.
- Mixing the Dough: It was a bit challenging, especially making sure the butter and sugar were creamed properly.
- Rolling and Cutting: This was super fun! I felt like a kid again, playing with dough and making shapes.
- Baking: I was a bit nervous about overbaking them, but I kept a close eye on the oven.
- Decorating: This was the best part! I got to be creative with the frosting and sprinkles.
Finally, it was time to decorate! I spread the frosting on the cooled cookies and added some sprinkles on top. They looked so pretty and festive. And let me tell you, they tasted amazing! They were sweet, buttery, and just the right amount of crispy.
Final Thoughts
Celebrating National Sugar Cookie Day by baking my own cookies was such a fun and rewarding experience. It’s not just about indulging in a sweet treat, but also about the joy of creating something with your own hands. If you haven’t tried baking sugar cookies before, I highly recommend giving it a go. It’s a sweet way to spend a day, and you end up with delicious cookies to enjoy! And if you have your own tips, please share them with me!
So yeah, that was my little adventure for National Sugar Cookie Day. I hope you all got to enjoy some sugar cookies too, whether you baked them yourself or got them from your favorite bakery. Until next year, happy baking, everyone!


